Configuring Your Virtual Machine
-
Click the
 icon at the top of the screen to open the Settings
menu.
icon at the top of the screen to open the Settings
menu.
-
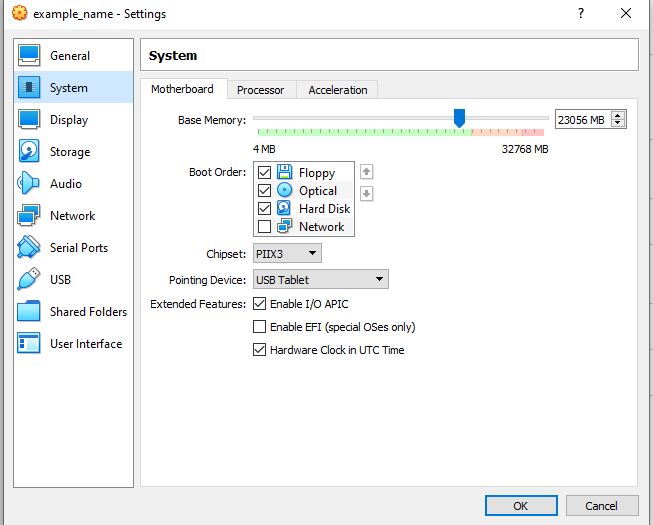
Select the System menu from the list on the left.
-
This will open directly to the Motherboard tab in the System menu. Check the
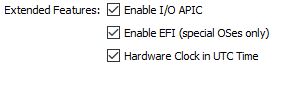
box for "Enable EFI (special OSes only)" under the Extended Features section
towards the bottom of the menu.
-
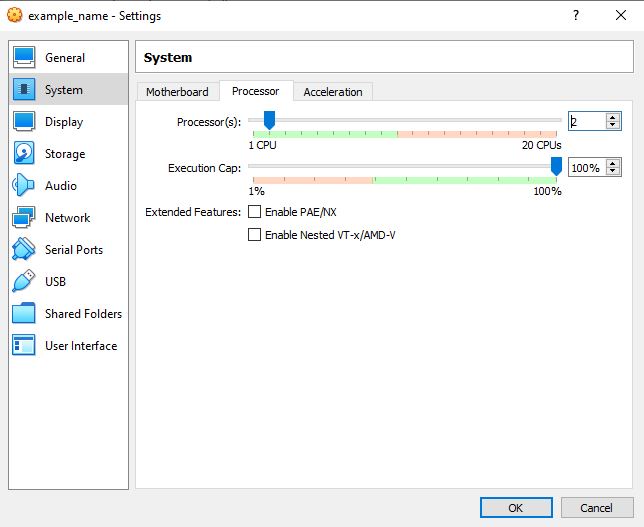
Note: Most newer computers come with an EFI BIOS, this will allow us to emulate running a new computerClick the Processor tab on the System menu.
-
Move the processor slider to the right to allocate 2 CPU cores for improved
performance.
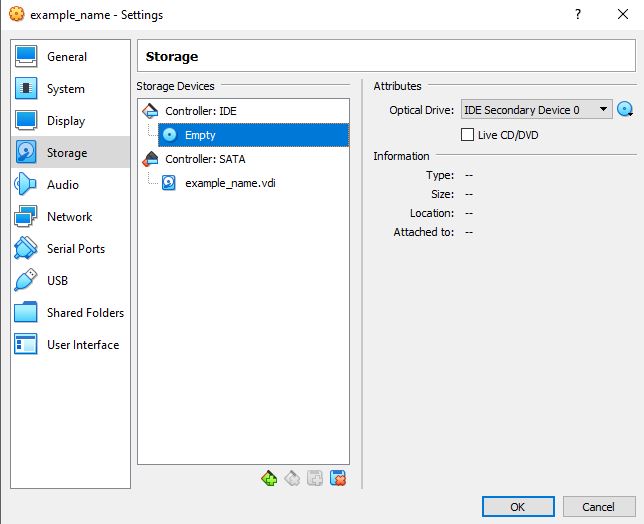
- Select the Storage menu from the list on the left.
-
Select the
 icon labeled "Empty" under Controller: IDE.
-
Insert the Linux Mint disk image downloaded in the previous sections by
clicking the icon under Attributes > Optical Drive on the right
hand side of the menu.
- Select "Choose a disk file" from the dropdown menu and specify the location where you saved the Linux Mint disk image file.
- Click Open when you have specified the location
- Click OK back on the Storage tab to close Settings and return to the main screen.