Jump to main content
Installing Linux Mint on your Virtual Machine
In this section, you will be guided through the process of installing Linux Mint on
your newly created Virtual Machine.
-
On your virtual machine's desktop, double click the icon labeled "Install Linux
Mint" to begin the installation.
-
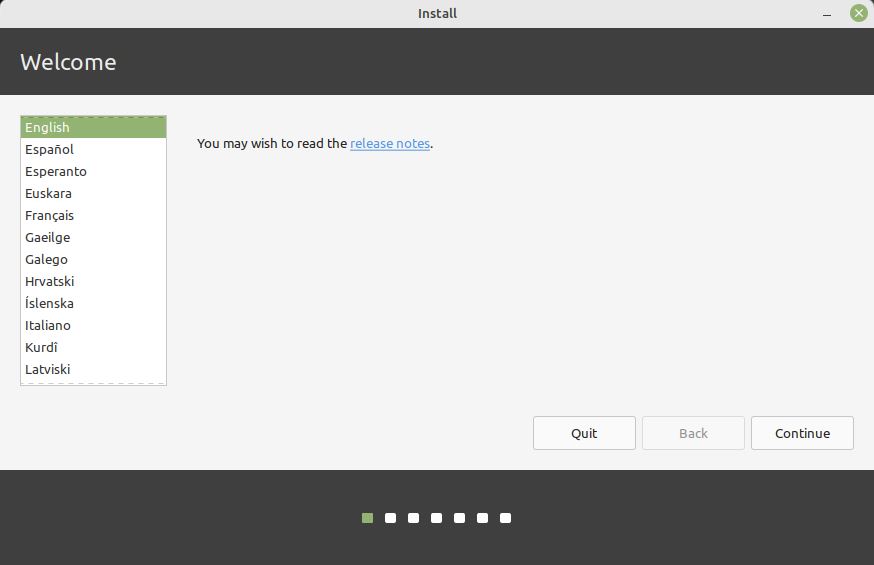
On the Welcome screen, select your language of choice and click Continue.
-
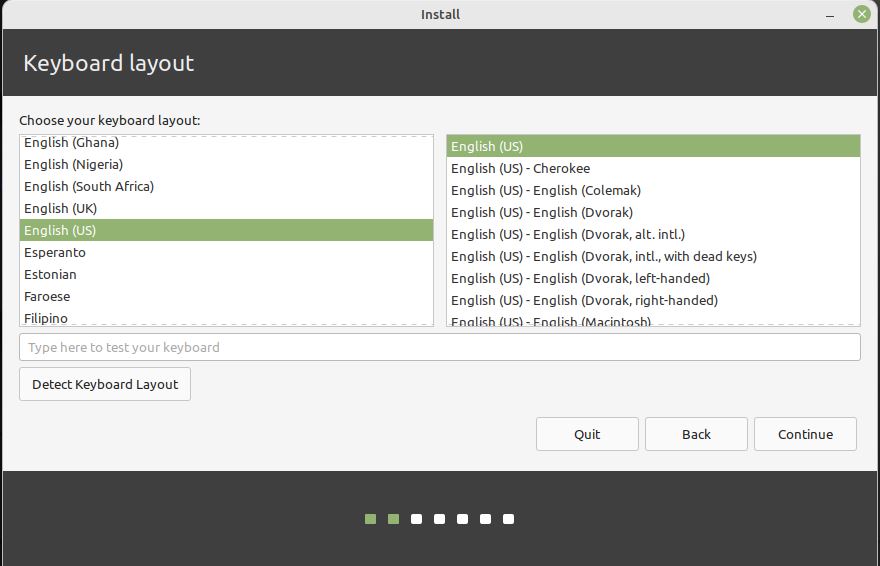
You will be tasked to choose your keyboard layout depending on your language
preferences and region. Click Continue when you are finished.
-
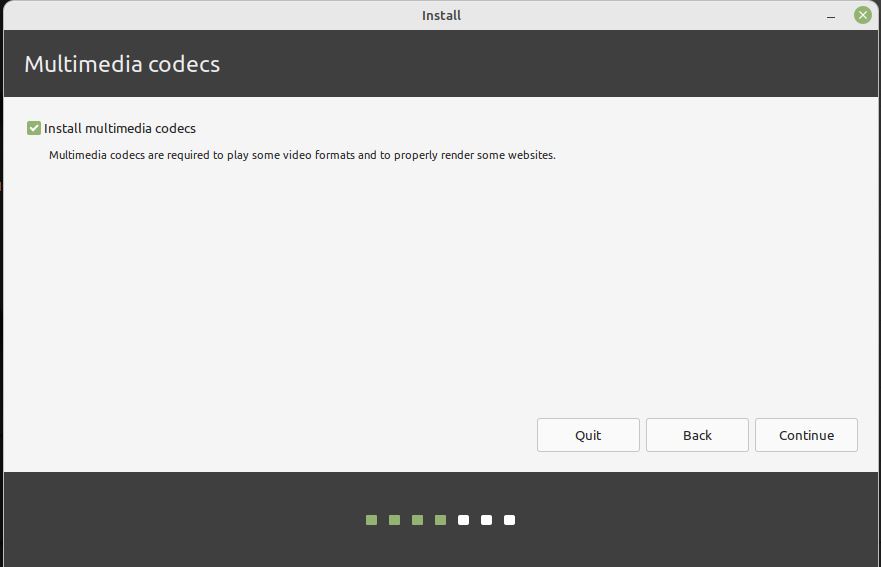
On the following screen, ensure that the checkbox for installing multimedia
codecs is selected.
-
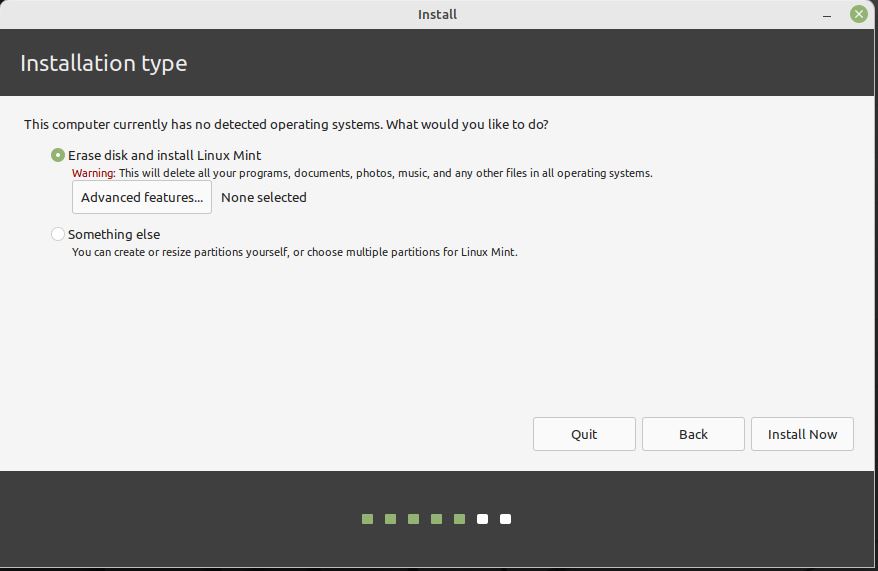
On the next WIndow, choose the installation type. Select "Erase disk and
install Linux Mint" and click Install Now. You will be asked if you want to
write the changes to the disks. Click Continue to proceed.
-
Select your region by clicking on your location on the map or entering the name
of your city into text field. Click Continue when you are ready to
proceed.
-
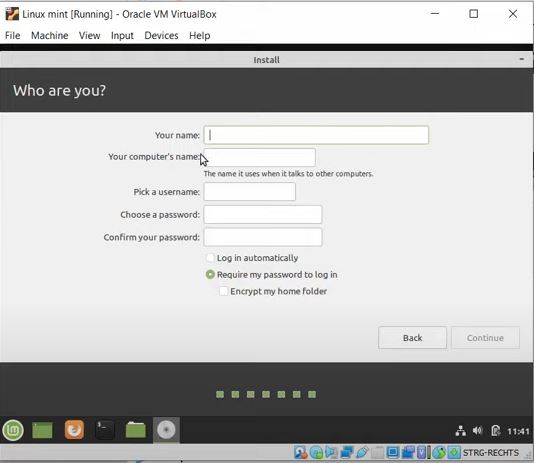
The following screen contains fields to enter your name, your computer's name,
your username/login ID, and your password. Fill in these fields with your
preferred information and click Continue.
-
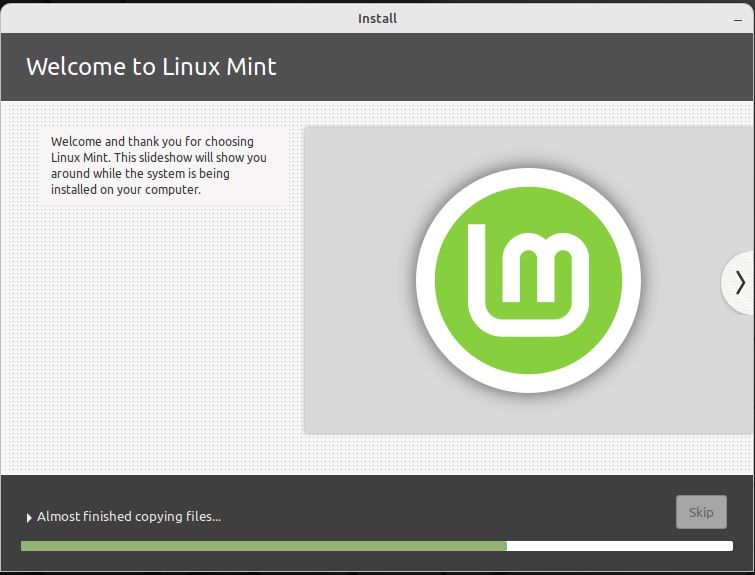
The installation will now begin. Wait for the process to complete.
-
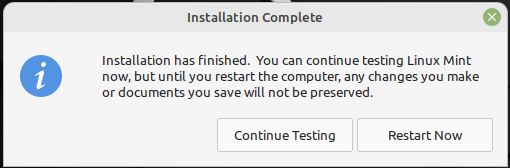
When the installation has finished, a message will appear indicating its
success. You will be prompted to choose between continuing to test your
settings, or restarting your virtual machine. Press the Restart Now button to
restart your virtual machine and finish the rest of the process.
-
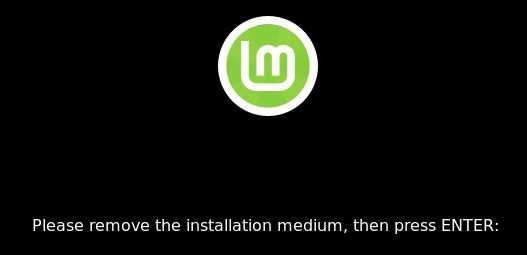
A message will appear on screen requesting that you remove the installation
medium and press ENTER. Press ENTER to proceed.
-
You will be brought to the login screen and asked to enter your login
information. Enter your password to login.
You have now finished installing Linux Mint on your virtual
machine.