Jump to main content
Downloading & Installing Oracle VM VirtualBox v. 6.1.34 for Windows
This section will cover how to download and install Oracle VM VirtualBox for
Windows.
-
Open up your preferred web browser (e.g. Chrome, Firefox, Microsoft Edge) and
navigate to: https://www.virtualbox.org/wiki/Downloads
-
Select "Windows hosts" under the "VirtualBox 6.1.2 platform packages" heading
to begin downloading the installer (VirtualBox-6.1.34-150636-Win.exe).
-
Open VirtualBox-6.1.34-150636-Win.exe to start the installation..
-
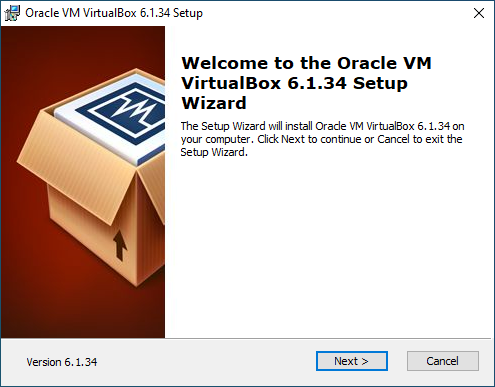
Click Next on the Setup Wizard welcome screen.
-
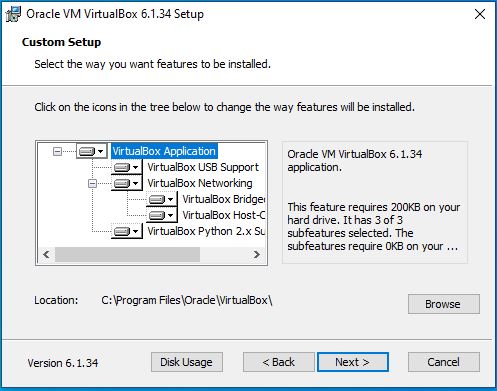
Select the location on your host machine that this application will be
installed to by clicking the Browse button. In this case, the default location
is set to C:\Program Files\Oracle\VirtualBox as indicated in the image below.
Leave the icon tree at the default settings and click Next.
-
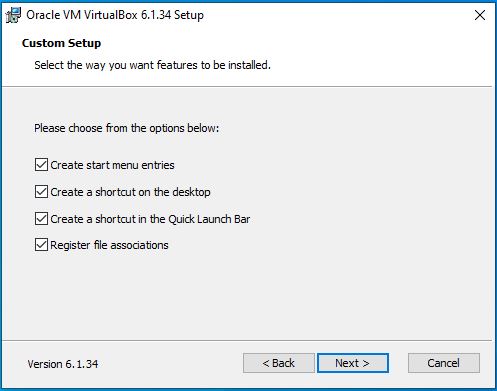
Select your shortcut preferences, leave the "Register file associations" option
checked, then click Next.
-
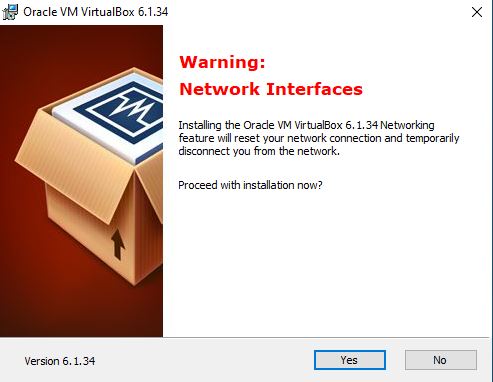
Read the warning indicating that your network connection will be temporarily
interrupted upon proceeding. Click Yes when you are ready to continue.
-
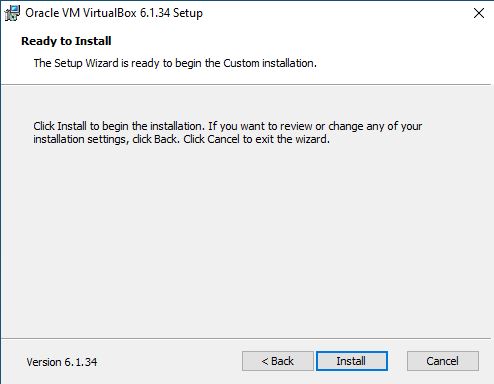
Click Install to proceed with the installation. The process may take several
minutes to complete.
-
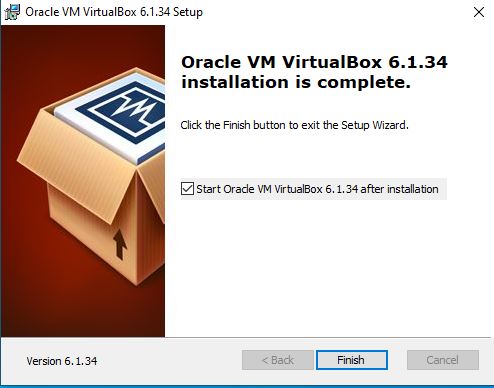
When the installation has finished, you can select whether or not you'd like
start the Oracle VM VirtualBox application upon exiting the Setup Wizard. Once
you have chosen your preference, click Finish to exit the Setup Wizard.
Oracle VM VirtualBox should now be sucessfully installed.
You are ready to proceed to the next step.