This task will guide you through the process of setting up a new virtual machine
using VirtualBox.
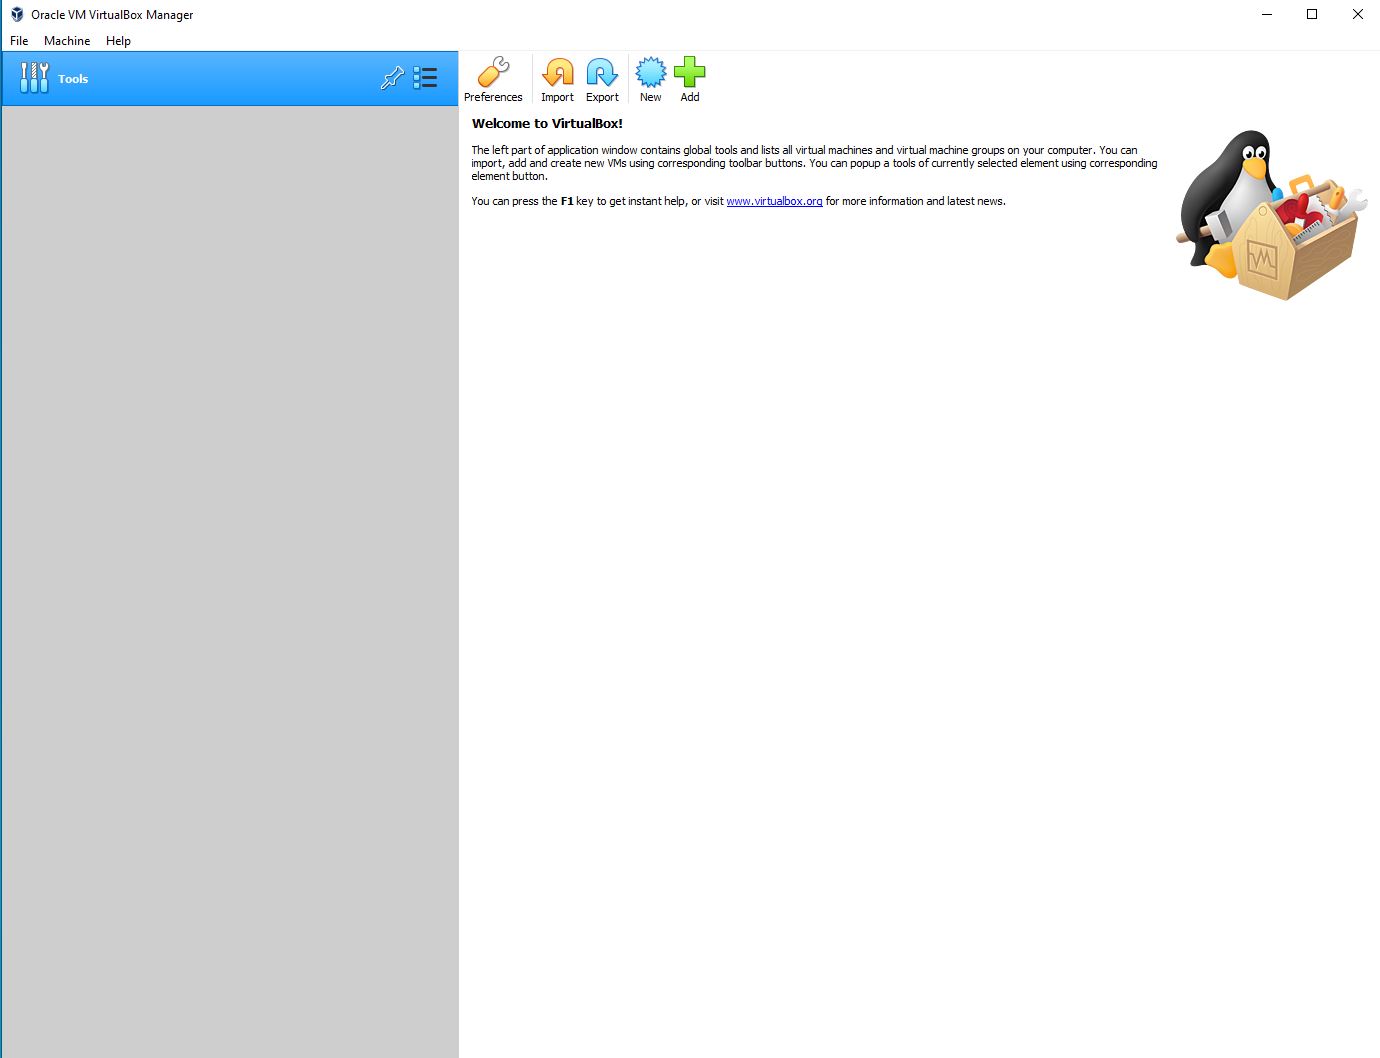
Open the VirtualBox application on your host machine.
From the main menu, click the button at the top of the screen.
Figure 1. VirtualBox Main Menu
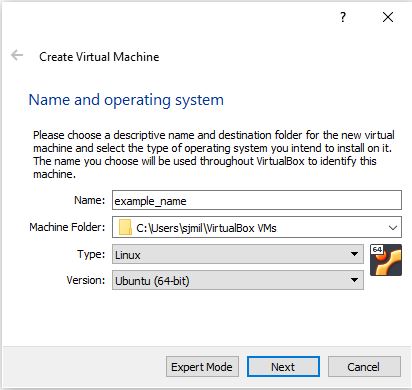
You will be prompted to select a name, destination folder, operating system
type, associated version for the new virtual machine.
Enter Linux Mint in the Name field.
The Machine Folder field can be left at its default value. If
preferred, you can select an alternative directory on your local machine
as the destination folder.
By entering Linux Mint in the Name field, the Type field will already
be populated with Linux as the default value. If it is not, select Linux
from the drop-down list.
For the Version field, select Ubuntu (64-bit) from the drop-down
list.
Click Next.
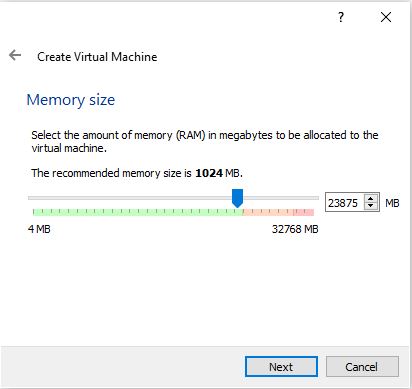
You will now be asked to select the amount of memory (RAM) to be allocated to
the vritual machine.
Select at least 2 gigabytes of memory using the slider. I recommend
moving it towards the far end of the green portion of the slider.
However, you will want to avoid moving the slider into the orange/red
zone in order to prevent performance issues on your host machine. The
actual amount available will be dependent on your host machine's system
specifications. Click Next when you are done.
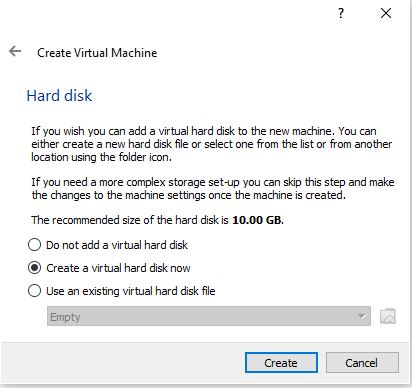
On the following screen, you will be asked to create and configure the new
virtual hard disk file.
Leave the "Create a new virtual hard disk" option selected and click
Create.
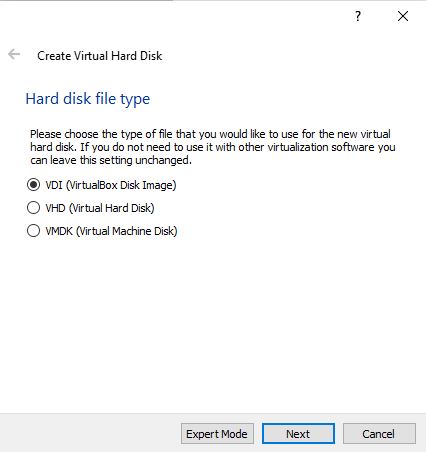
You will be prompted to select a hard disk file type. Leave the default
value of VDI (VirtualBox Disk Image) selected and click Next.
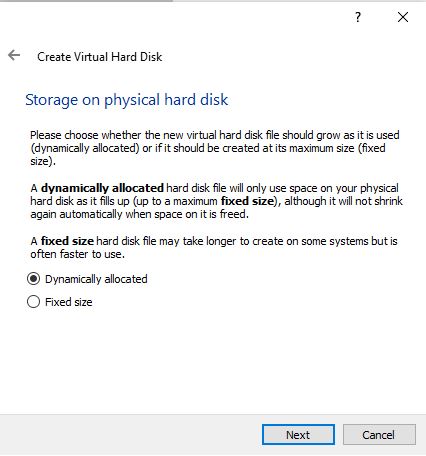
Read the descriptions and make your selection based on your
preferences. For the purposes of this guide, we recommend selecting the
default value of Dynamically Allocated.
Click Next when you are done.
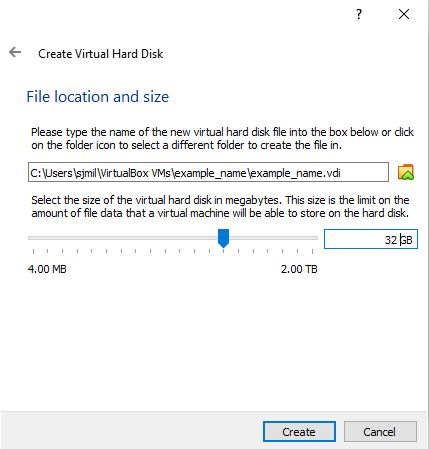
Choose the directory on your PC where the virtual hard disk file will be stored
along with the size of the virtual hard disk.
Click the folder icon to select a location.
Using the slider, allocate at least 32 gigabytes of disk space to
ensure that you will have enough available to run the operating system
and store your data.
Click Create when you are done.
Your new virtual hard disk has been created and you are now
ready to proceed to the next section of the guide.
 button at the top of the screen.